1. Access the dashboard
- To log in to your site, check out the login tutorial by clicking here.
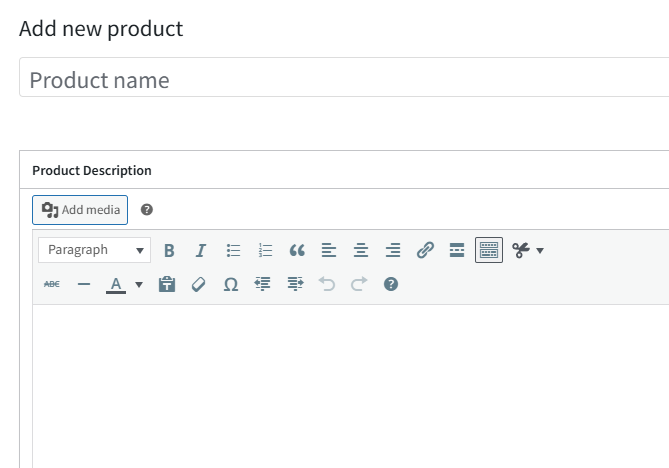
2. Product name and description
- Product name: use a clear title (e.g. “Basic Black T-Shirt”)
- Long description: add full details (material, usage, features)
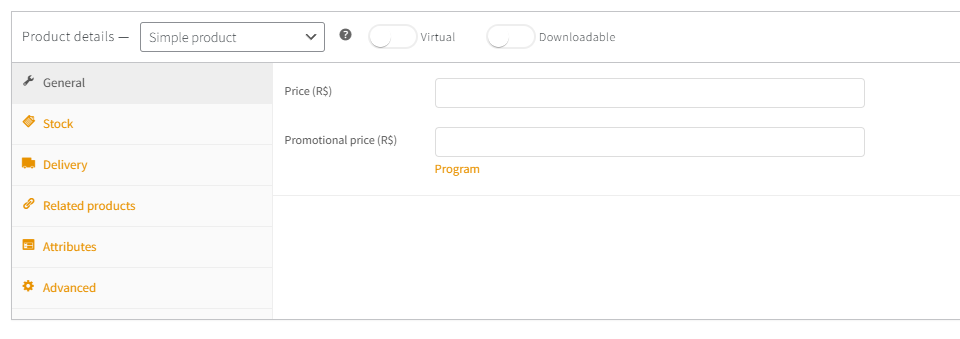
3. Product data (main section)
Below the description, you’ll find the “Product Data” box:
Product type
Choose:
- Simple product (most common)
- Variable product (with variations like size/color)
- Virtual product (no shipping)
- Downloadable product
Pricing
- Regular price: default price
- Sale price: optional discount
Inventory
- Check “Manage stock” if you want to control quantity
- Set available stock
Shipping
- Weight and dimensions (optional but useful for shipping calculations)
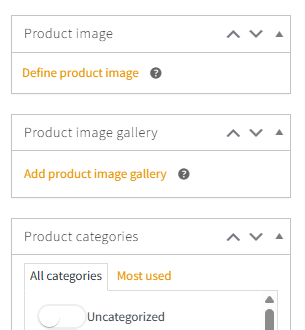
4. Product images
- Main image: primary product photo
- Gallery: add more images
Tip: use high-quality images with a clean background
5. Categories and tags
On the right side:
- Categories: organize your products (e.g. Clothing, Electronics)
- Tags: keywords (e.g. t-shirt, basic, cotton)
6. Short description
- Appears next to the product image
- Write a short, compelling summary
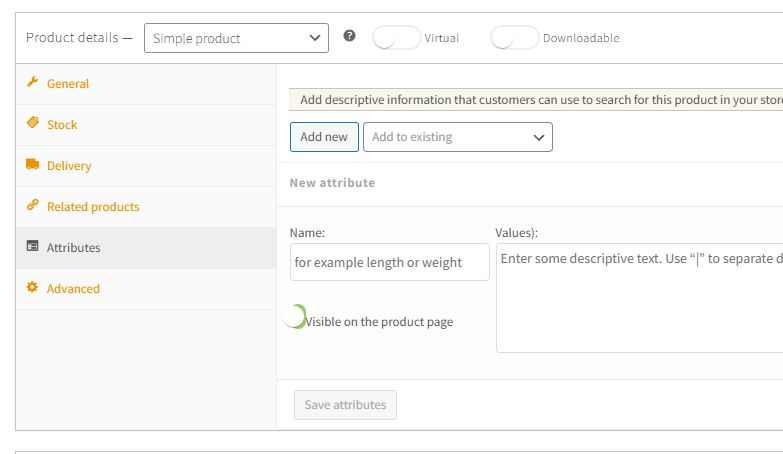
7. Variable product (if needed)
If you selected “Variable product”:
- Go to Attributes
- Create attributes (e.g. Size: S, M, L)
- Check “Used for variations”
- Go to Variations
- Click “Create variations”
- Set price and stock for each variation
8. Publish
- Click Publish
Done! Your product is now live in your store.
